Now that Sandi and I have finished our "How To Setup a Blog" series at Stamping and Blogging, and I've finished up the 101 Blogging Tips series here at Blogs By Heather, I'm back into giving you what I do best… "how to" tutorials. Have any suggesetions? Post them to my Q&A page – thanks 😀
TypePad Tutorial: Responsive Design
Today's tutorial is on "How to use TypePad's new Responsive Design". It's not really for me personally as I now use Advanced Templates, have a custom dropdown menu and advanced coding, but I experimented anyway 😀
NOTE: Create a test blog to experiment with!
Instructions
- Go to Design.
- Click Choose Theme.
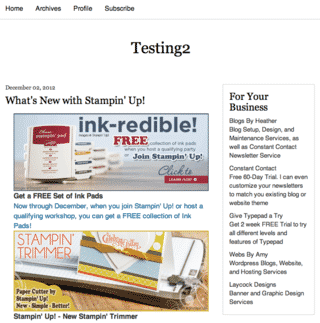
- The responsive theme is actually called Snap.
- Then choose a color theme.
- You can either click Preview or you can choose to Apply the design and then View Blog.

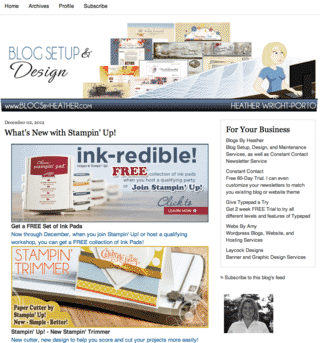
It is very simplistic, although TypePad plans on building more themes. And it will scale for all devices. However, for many they want more "design" elements. - Additionally, you can choose Custom CSS.

This is the code (below) to upload a custom banner
to your theme.You should load the banner (image) to your File Manager – then Right-Click on the image to get the URL path.
Replace the URL you see in the URL() setting.
Setup Width and Height to that of your banner. These settings are for my example.#banner
{
width:970px;
height:300px;
background: url(https://heatherporto.typepad.com/BlogDesign-BlogSetup-Banner.png) no-repeat;
}See the Related Links at the bottom of the post for more help in customizing CSS.
- Click Save Changes.
- For me, the Blog Title was still showing (where this code works perfectly in Theme Builder). So…..
- TypePad Everything, Colleen, gave me a shout out and told me about this code to add to the Custom CSS area to 1. hide the Blog Title and Description (that is needed for SEO) and help the banner scale appropriately as well.
.container .jumbotron { padding: 0; } .jumbotron { padding: 0; margin-top: 15px; } .jumbotron h1 { margin: 0; } .jumbotron h2 { display: none; } .jumbotron h1 a { background: url(banner.jpg) center top no-repeat; background-size: contain; display: block; left: 0; top: 0; height: 200px; width: 100%; text-indent: -1000em; min-width: 320px; } /* Extra Small */ @media (max-width: 768px) { .jumbotron { height: 90px; } } /* Small */ @media (min-width: 768px) { .jumbotron { height: 140px; } } /* Medium */ @media (min-width: 992px) { .jumbotron { height: 180px; } } /* Large */ @media (min-width: 1200px) { .jumbotron { height: 200px; } }
- Remember to save these last changes as well.
Related TypePad Links
on this new theme design:
Guess what? You can now purchase a yearly subscription to Stamping and Blogging! AND you save, getting 2 months FREE! For those that are currently monthly customers, cancel your current profile, let the month cycle complete and then Subscribe using the new button! Just remember to give me a heads up that you're switching payment plans! Email us at stampingandblogging@gmail.com. Thanks 😀


Thank you for letting your readers know about our new design! A lot of work went into it and a lot of great new themes will be built on it!
We’re going to be posting a full tutorial on adding a banner to this theme on Everything Typepad – there’s some extra code that needs to be including to make sure everything scales properly at smaller screen sizes.
It looks like this:
.container .jumbotron { padding: 0; }
.jumbotron { padding: 0; margin-top: 15px; }
.jumbotron h1 { margin: 0; }
.jumbotron h2 { display: none; }
.jumbotron h1 a
{
background: url(banner.jpg) center top no-repeat;
background-size: contain;
display: block;
left: 0;
top: 0;
height: 200px;
width: 100%;
text-indent: -1000em;
min-width: 320px;
}
/* Extra Small */
@media (max-width: 768px) {
.jumbotron { height: 90px; }
}
/* Small */
@media (min-width: 768px) {
.jumbotron { height: 140px; }
}
/* Medium */
@media (min-width: 992px) {
.jumbotron { height: 180px; }
}
/* Large */
@media (min-width: 1200px) {
.jumbotron { height: 200px; }
}
That tells the screen to scale the height down based on the width. Start with the Large – that’s the height of the banner image at its starting point. Then it should progressively get smaller, using about the same changes I included in the code.
We’ll have that and more tips on Everything Typepad soon!
I forgot to mention – the code above will hide the text version of the blog title and description. We don’t recommend commenting it out in the blog settings – using CSS is better from a SEO perspective. Thanks again!